

Your automations can also start from HubSpot. Three HubSpot triggers react to what happens there:
| Trigger | Starts when |
|---|---|
| HubSpot Contact Created | a new contact is created in HubSpot |
| HubSpot Contact Property Changed | the lifecycle stage or the lead status of a contact changes |
| Started from a HubSpot Workflow | a HubSpot workflow runs the MemberArea action Start automation for this automation |
Before you start, connect HubSpot under Settings, then Integrations.
Add a HubSpot trigger
-
Open Automations and edit or create one.
-
In the Library, open the Triggers tab and click HubSpot.
-
Click the trigger you need or drag it onto the canvas.
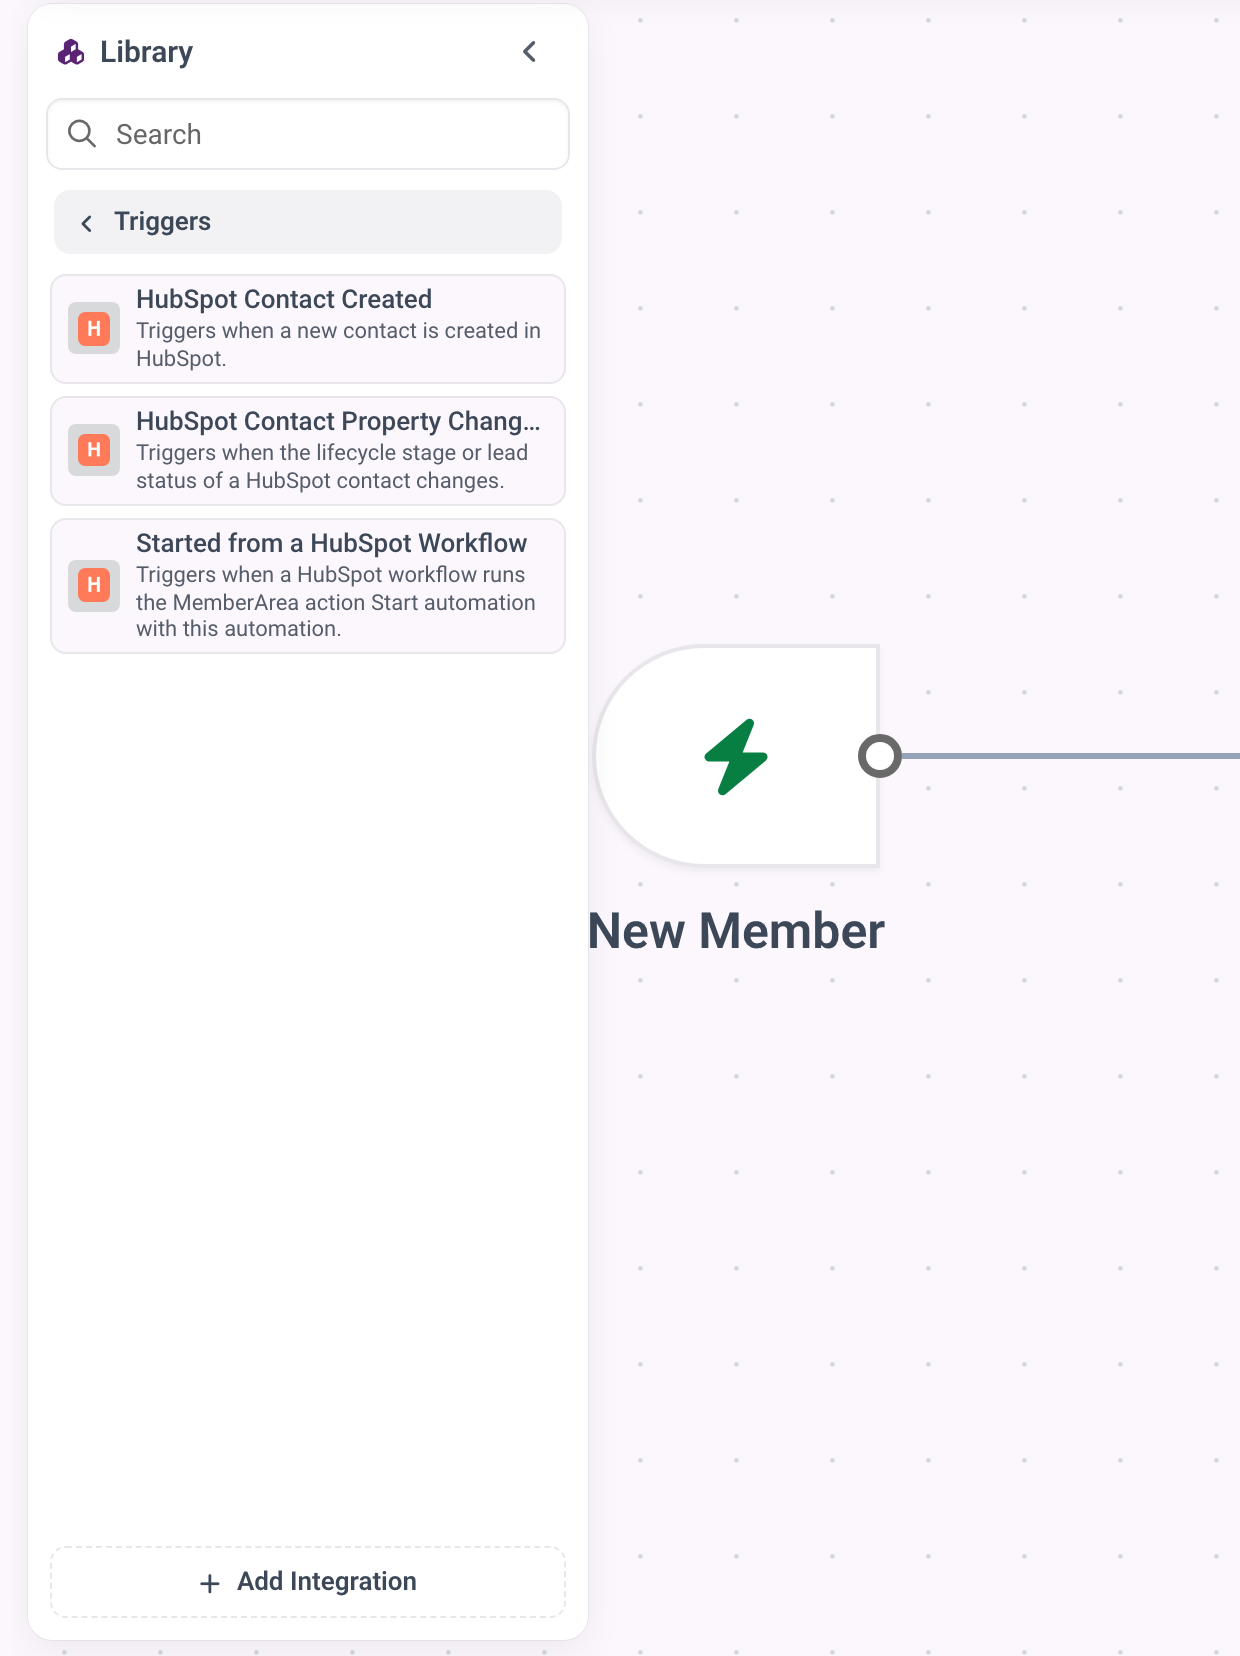
The Library on the Triggers tab with HubSpot opened and its three triggers HubSpot Contact Created, HubSpot Contact Property Changed and Started from a HubSpot Workflow. -
Add the steps that should follow, then publish the automation and switch it on.

If HubSpot is not connected yet, the library shows Connect next to it instead.
Who the automation runs for
The automation runs for the person behind the HubSpot contact, found by email address. If there is no member account for that address yet, one is created first, without an email from MemberArea and without a password the person knows. If your plan has reached its number of members, no account is created.
A contact without an email address still starts the automation, but steps that work on a member have nobody to work on.
Accounts are only created for contacts an automation actually reacts to. A new contact in HubSpot that no published automation listens to leaves your memberarea untouched.
React to a lifecycle stage or a lead status
HubSpot Contact Property Changed has two filters:
| Filter | What it does |
|---|---|
| Property | Lifecycle stage or Lead status. Leave it on Any property to react to both. |
| New value | Only react when the property changes to this value. Leave it empty to react to every change. |
New value takes the internal value HubSpot stores, not the label you see,
and it has to match exactly. For the lifecycle stage these are, for example,
subscriber, lead, marketingqualifiedlead, opportunity and customer.
HubSpot lists the internal value next to each option in the settings of the
property.
To welcome new customers, use Property set to Lifecycle stage and
New value set to customer, then grant the course in the next step.
HubSpot only reports changes of these two properties to MemberArea. For any other property, a form, a list or a deal, use the next way.
Start from any HubSpot workflow
A HubSpot workflow can start on anything HubSpot knows about, and its MemberArea action Start automation hands over to your automation.
- Give your automation the trigger Started from a HubSpot Workflow, then publish it and switch it on.
- Copy its ID from the address bar: the long id after
/admin/automations/. - In the HubSpot workflow, add the action Start automation from MemberArea and paste the ID into Automation ID.
Every time the workflow reaches that action, the automation runs once for the enrolled contact. The action and its fields are described in Using MemberArea actions in a HubSpot workflow.
Good to know
- HubSpot sometimes reports the same change twice. MemberArea notices and runs the automation only once per change.
- The triggers only listen to the HubSpot account connected to this workspace.
- If the connection is interrupted, nothing arrives until you press Reconnect in Settings, then Integrations. Changes made in HubSpot during that time do not start anything afterwards.